Can Seaming Machine Buying Guide: Can, Lid, Seam, and Output Requirements
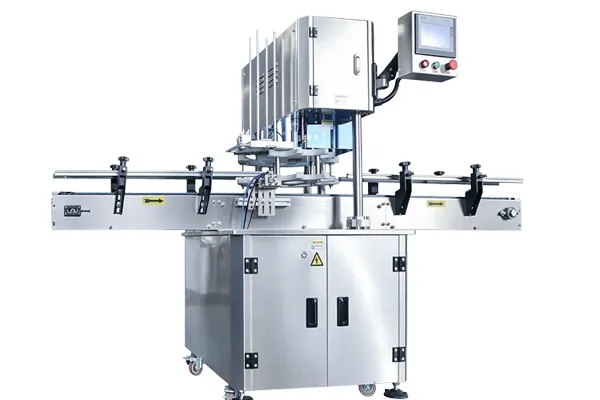
A can seaming machine is bought against a specification, not a catalog. Most of the failures that surface later on the line—incompatible tooling, seams that will not hold, a changeover that eats a whole shift—trace back to a definition that was left vague before the machine was ever ordered.
This guide walks through the definitions that actually decide the machine: the can and lid you are sealing, the seam the closure has to produce, how the product loads that seam, the output and automation the line needs, what a format change costs in tooling and setup, and what to confirm before shipment and when you request a quote.
What Must Be Matched Between the Can, the Lid, and the Machine?
Seaming tooling is engineered for a specific body-and-lid pair, so the materials and dimensions of both have to be fixed before anything is machined. The type, thickness, and hardness of each part drive the seaming force and the profile of the rolls and chuck.
Body and Lid Materials
The can body carries the load during seaming, and each material asks something different of the machine:
- Steel (tinplate): the common choice for food cans; its stiffness needs robust tooling and enough force to close a full seam.
- Aluminum: ductile and used widely for beverage ends and some bodies; it needs its own roll profile and pressure so the flange forms without tearing.
- PET and rigid plastics: used for dry and specialty products; they take lower, carefully controlled force so the body is not crushed or scratched.
- Composite paperboard: common for coffee and snacks; the wall compresses, so tooling has to account for that give to keep the seam tight.
Confirm the lid material separately, because it often differs from the body to get a specific result—tinplate, an aluminum alloy such as 5182, or a peelable membrane on a metal ring—and because an easy-open end, a stay-on tab, and a plain or puncture end each carry a different geometry into the chuck.
State the pair together. “A PET body with an aluminum easy-open end” tells the tooling supplier what they need; “tooling for PET cans” does not, and the missing half is where compatibility errors start.
Dimensions and End Profile
Four measurements set the boundaries of the machine and the tooling it needs:
- Body trade size and finished height: the diameter (a number such as 202, 211, or 307) selects the base change parts, and the height sets the vertical setup and any spacers.
- End nominal diameter: it has to match the body, and it needs a chuck sized to it.
- End profile and countersink: the shape and depth of the curl and the recessed countersink—where profiles such as B64 and CDL differ—have to suit the chuck nose.
Every machine is rated for a diameter and height range, and a can outside that envelope needs a different machine, not an adjustment. Within the range, matching the nominal diameter alone is not enough: a chuck meant for a shallow B64 countersink will not support the deeper, more conical CDL end, and the mismatch shows up as lid scuffing, flange fractures, and micro-leaks. The profile, not just the diameter, decides the chuck. For how the first and second operations actually roll that seam closed, see how a can seaming double seam is formed.
Two practical checks close the loop. List every can and end you run or expect to run, because the change-part budget grows quickly once all formats are counted. Then treat the material pairing as including the coating and the sealing compound: a lacquer or compound specified for the can has to survive the seaming force without being scraped out of the seam zone, where a bare-metal spot becomes the first place corrosion or a leak appears.
What Seam Specification and Closure Result Are Required?
Before you choose a machine, define what a good seam looks like for your can. Those targets come from your can and end supplier and your product, not from the machine datasheet, because the geometry is specific to the container you are running.
- Dimensional targets: seam width, seam thickness, body hook length, and cover hook length, with an acceptable tolerance on each; overlap and body-hook butting describe the mechanical interlock those dimensions produce.
- Functional result: a leaktight seam that holds under the product’s own internal pressure or under retort conditions, free of critical defects such as a false seam, cutover, droop, or uncontrolled wrinkling in the cover hook.
- Verification: a routine of visual and dimensional checks plus destructive teardown—cutting the seam to measure the hooks and overlap—sampled at a defined interval and after each changeover.
For thermally processed low-acid foods packaged in hermetically sealed containers in the United States, 21 CFR Part 113 includes requirements related to container integrity and closure examinations. Its applicability depends on the product, process, package, and destination market. The machine acceptance criteria should still be based on the approved can-and-end specification and the applicable quality and regulatory requirements.
Read those parameters as a set, because they trade off against one another. The body hook and cover hook have to interlock with enough overlap to resist being pulled apart, while the seam thickness has to sit in the band where the sealing compound is compressed enough to seal but not so hard that the hooks thin or cut. A clean measurement can still hide a defect, so the teardown is read by a trained person alongside the numbers, and the tolerance figures come from the supplier’s spec sheet rather than a rule of thumb.
Does the Product Affect the Seaming Process?
Sim. The product is not a passive passenger—it loads the seam continuously over the package’s life, and the machine has to be set up to seal against those specific demands.
- Pressure and vacuum: carbonated or nitrogen-dosed products push outward and need a stronger seam; vacuum-packed or retorted foods pull inward as they cool.
- Temperature: hot-filled product expands at seaming and must stay tight after it contracts; retorting subjects the seam to repeated heat and pressure (commercial sterilization of low-acid foods typically runs around 121°C).
- Chemistry: acidic, salty, or corrosive contents attack the metal and the internal lacquer, so the sealing compound has to suit the product and the seaming must avoid damaging the coating in the seam area.
- Physical state and fill: viscous product or particulates, and an inaccurate fill or headspace, can leave material in the flange—and anything trapped there blocks metal-to-metal contact and becomes a leak path.
Because of this, the product drives the container choice—two-piece for beverages, three-piece for many foods, a standard or stay-on or valve end—and the seamer is then tooled to match the can and end selected for that product, not the other way around.
Product conditions influence package selection and seam validation, but the approved double-seam dimensions should remain based on the specific can-and-end specification. Fill temperature, internal pressure, vacuum, headspace, retorting, and possible product contamination on the flange should be considered when selecting and testing the package. They should not be used to improvise a different seam profile outside the container supplier’s approved limits.
How Should Output and Automation Be Defined?
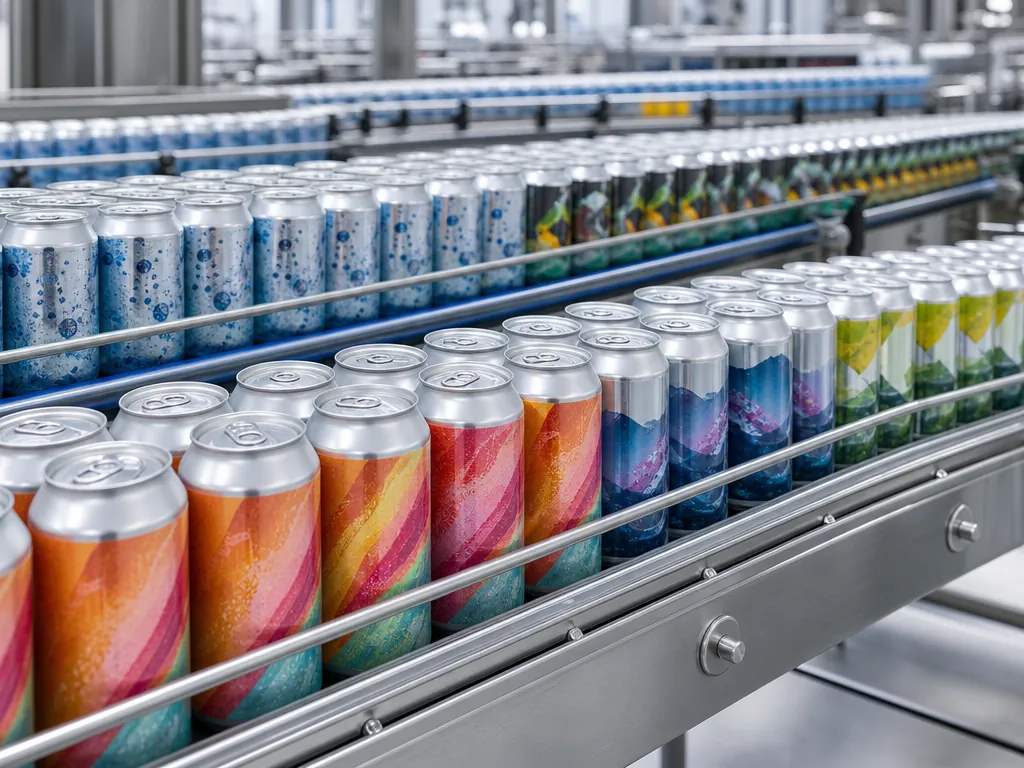
Output and labor model are the two numbers that move you from a vague need to a machine class. State the speed you actually have to sustain and how much hands-on work the line can support.
Output
Seamer speed is quoted in cans per minute (CPM). Distinguish the rated speed—the machine’s ceiling under ideal conditions—from the effective speed you will hold with your cans, product, and line efficiency. To size it, work backward from annual volume using your shift pattern and a realistic OEE that allows for changeovers and downtime, rather than buying to the nameplate.
Build in a margin over the calculated minimum, but do not buy far past it. A machine that only ever runs at a fraction of its rated speed is capital sitting idle, while one pinned at its ceiling has no cushion for a busy season or a slower-than-hoped changeover. OEE is where that arithmetic settles—the availability, performance, and quality losses you actually take on your line, not the theoretical maximum on the plate.
Automation Level
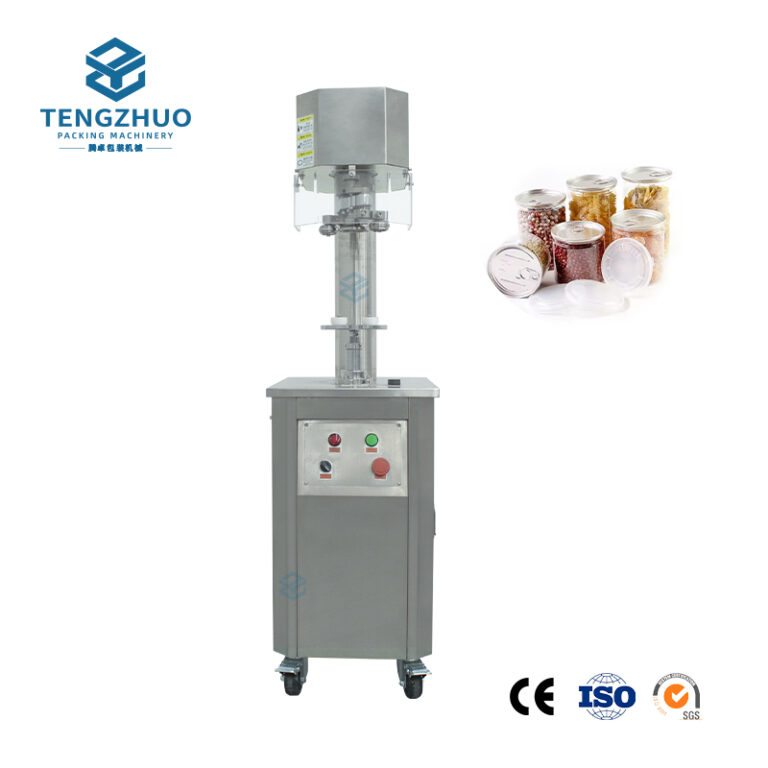
Automation comes in tiers that map to different labor and throughput. A semi-automatic machine has the operator load the can, place the lid, and start the cycle—suited to labs, pilot runs, and small batches. A fully automatic machine feeds cans, places lids, seams, and discharges without an operator at the station. A high-speed rotary turret adds multiple heads in continuous motion for large-volume plants. Where that line sits matters: a standalone station and a station synchronized to fillers and conveyors are different specifications, and you may also need quick-change or tool-less adjustments for frequent formats, or hygienic and inspection features for food and beverage duty. For the trade-offs between the two lower tiers, see semi-automatic vs automatic can seamers.
How Do Format Changes Affect Tooling and Setup?
If you will run more than one can, plan for the physical changes each new format forces on the machine. A format change is not a setting; it is a swap of hard-tooled parts followed by a mechanical recalibration.
- Change parts: a different diameter means a new chuck and base plate; height changes use spacers; the first- and second-operation rolls are matched to the end design and material; on rotary machines the infeed and discharge stars and guides are diameter-specific.
- Recalibration after the swap: the up-thrust that holds the can, the radial and axial position of the rolls, the table lift height, and on some machines the timing—these set the seam thickness, overlap, and countersink.
Both the parts and the adjustments decide changeover time, and changeover time decides flexibility. Manual wrench-and-gauge setups take longer and need a skilled technician; tool-less, marked, and repeatable change parts shorten it. When you compare seamers for multi-format work, price the full change-part set for every size you plan to run and check its lead time, and look for documented setup coordinates that make each changeover repeatable. Those factors—not the headline price—drive your real uptime and cost per format.
Design features and discipline both shorten the changeover. Quick-change or tool-less parts, color-coded or marked change sets, and printed setup coordinates cut both wrench time and guesswork. Whatever the machine, confirm the first cans off a new format with a full teardown before the run is released; a changeover is not finished until the seam on the new format measures to spec.
What to Verify Before Shipment and What to Send for a Quote
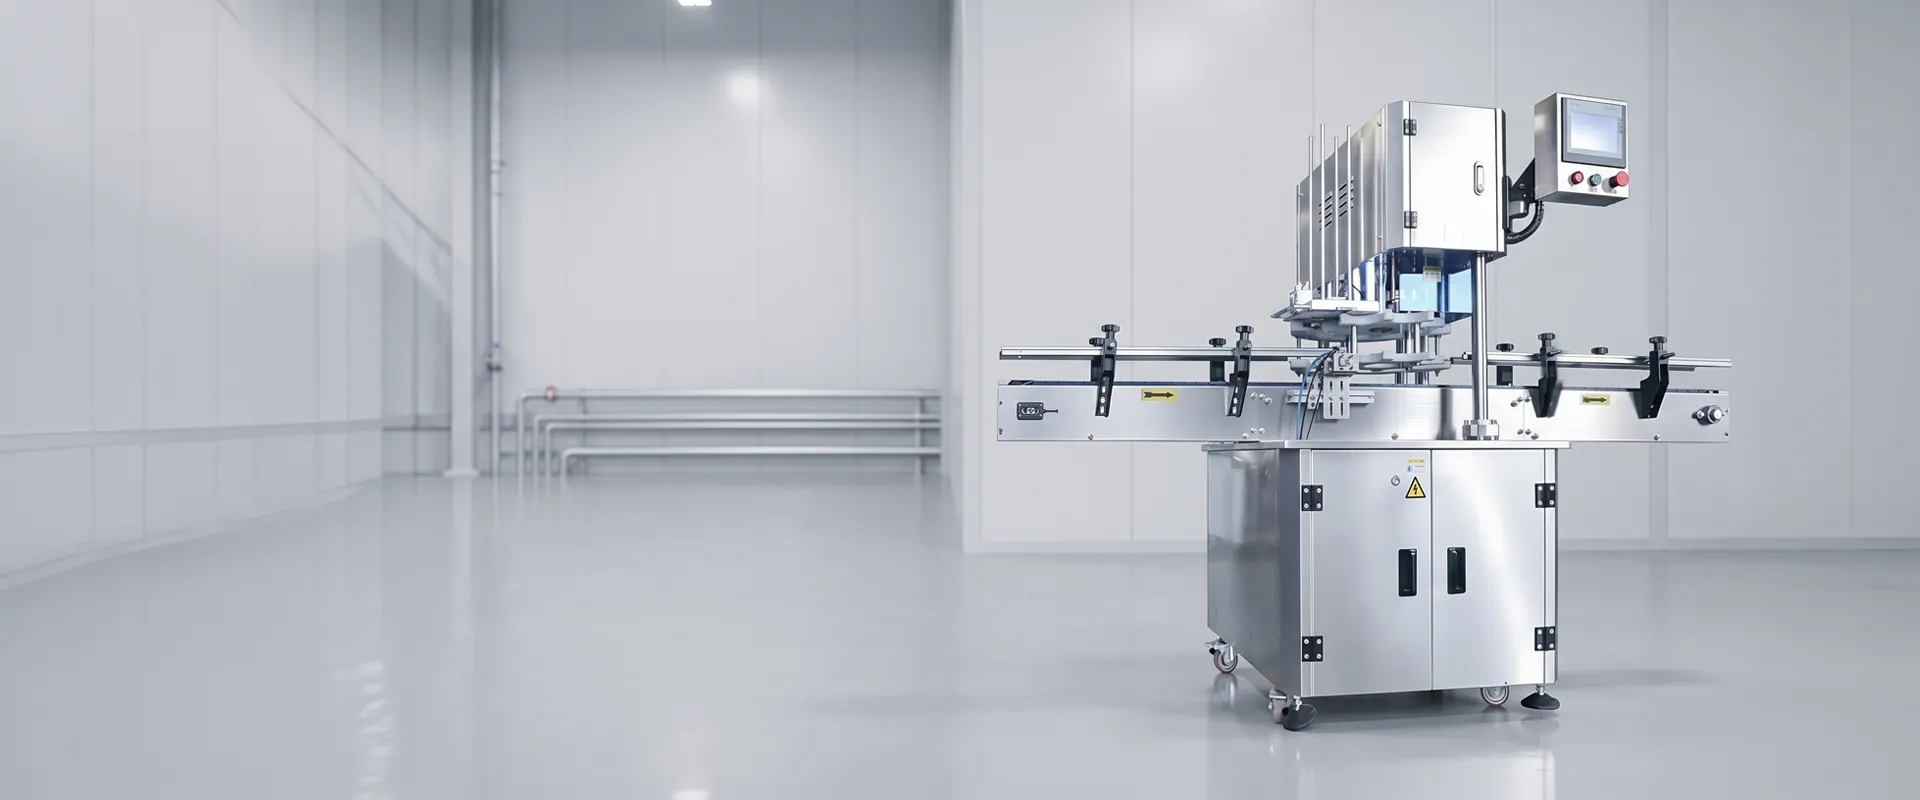
Before a seamer leaves the builder it should pass a factory acceptance sequence: a mechanical and electrical inspection, a no-load dry run to catch drivetrain and control faults, and—the part that matters most to you—a live trial on your own cans and lids drawn from the production lot, since only your real materials show whether the tooling fits. Cans from that trial are then cut for destructive seam analysis against the specification, and the machine holds an extended continuous run at your target speed before the settings and results are recorded in a formal FAT report.
Expect that evidence to follow the machine to you. A site acceptance test after installation re-checks the seam on your line, at your speed, on your materials, so a machine that passed in the factory is also proven where it will actually run.
The same detail you want verified at FAT is what makes an early quote accurate. A request that leaves out the container, the output, or the product invites a generic proposal that has to be rebuilt later. Sending the full package lets the supplier configure the machine and its tooling correctly the first time.
Be explicit about the seams you have had trouble with. A history of cutovers, droop, or leakers on a particular can tells a supplier more than a clean data sheet, because it points straight at the tooling or adjustment the new machine has to get right.
| Information Category | Key Details to Provide |
|---|---|
| Container and End | Technical drawings for the body and end with revision numbers; materials, dimensions, coatings, and sealing compound; the target double-seam specification; and physical samples of every can and end variation for testing. |
| Output and Formats | Required speed in CPM; every format to run with the primary size marked; changeover frequency and the maximum time you will accept; and whether the machine is single-size or multi-size. |
| Product and Process | Product type and fill temperature; any nitrogen dosing, vacuum, or carbonation; and downstream steps that stress the seam such as retorting or pasteurization. |
| Line and Facility | A layout sketch with floor space, ceiling height, and infeed/outfeed; utilities (voltage, phase, frequency, compressed air); hygiene level; and any PLC or data-integration preference. |
| Commercial and Support | Quantity and delivery timeline; installation, commissioning, and training needs; a recommended spare-parts kit; and required compliance and documentation such as CE/UL or FAT/SAT protocols. |
Perguntas frequentes
How do I choose a can seaming machine?
Start from the package and the specification, not the machine. Fix the can and lid materials and dimensions, the end profile, the double-seam target, your sustained CPM, and the automation level your line can support; the machine and its tooling then follow from those definitions.
Can one machine seam both aluminum and tinplate cans?
Often yes, provided the machine covers the force and size range for both and you run the correct change parts—chucks and rolls matched to each material and end. The limiting factor is whether the specific model and its tooling were built for that pair, so confirm it with the supplier.
Does each can size need different tooling?
On nearly all seamers, yes. Diameter-specific chucks and base plates, and profile-matched rolls, are what let one machine run several sizes, so each format needs its own set of change parts and a repeatable setup.
How should a double seam be tested?
Through a routine rather than a single check: external visual and dimensional inspection for defects, destructive teardown to measure overlap and hook lengths against the specification, and a tightness evaluation, sampled at set intervals and after each changeover.
Should buyers send can and lid samples before purchasing?
Sim. Sending real cans and ends from your production lot lets the supplier machine matching tooling and run a seaming trial on your actual materials, which is the only reliable way to confirm the seam before the machine ships.
Final Thoughts
Choosing a can seaming machine starts with the package rather than the equipment catalog. The can body, end profile, material combination, approved double-seam specification, required output, and planned formats determine the tooling and machine configuration. Defining these requirements early can reduce compatibility problems, unstable seams, and avoidable changeover work.
Prepare a written specification covering the can and end drawings, materials, seam targets, sustained CPM, automation level, and complete format list. Share representative samples and agree on the FAT scope and acceptance criteria before production begins. Contact our team with these details to discuss a can seaming machine and tooling configuration for your packaging line.

Continue Reading
Explore more insights from our packaging machinery experts
Wrap-Around, Front-and-Back, and Flat-Surface Labeling Compared
Pressure-sensitive labeling splits by how the container moves and where the label datum sits. Compare the three methods, then send the samples a quotation needs.
Read Article
How Powder Flowability Affects Auger Filling
Air trapped between particles is why powders bridge, compact, and segregate. How flowability drives auger selection, testing, and what to send with an enquiry.
Read Article
Shrink Sleeve Defects: Wrinkles, Distortion, and Label Jams
Sleeve defects sort into four groups: shrink, position, feed, and heat damage. The evidence to collect before any tunnel or applicator setting gets changed.
Read ArticleReady to Upgrade Your Packaging Line?
Get in touch with our engineers for a free consultation and tailored equipment proposal within 24 horas.
Obtenha um design de layout de linha CAD 3D gratuito
- Preço direto da fábrica
- Tempo de resposta rápido
- Componentes globais de primeira linha
- Suporte pós-venda dedicado


